Seed Starting Mix
🧰 In a hurry? Jump straight to our tested picks for this guide ↓
Seed starting mix at a glance
| Feature | Detail |
|---|---|
| What it is | A light, fine, sterile blend made for germinating seeds — not garden soil |
| Main ingredients | Coco coir or peat, perlite or vermiculite, a little screened compost |
| Texture | Fine and fluffy, so tiny roots push through easily |
| Key traits | Holds moisture, drains fast, sterile (few weed seeds or pathogens) |
| Feeds seedlings? | Barely — seeds carry their own food; feed lightly once true leaves appear |
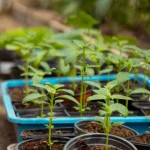
| Best for | Seed trays, plug cells, small pots for tomatoes, chillies, flowers and herbs |
A seed starting mix is a light, fine-textured growing medium made specially for germinating seeds. It holds moisture, drains freely, and is sterile enough to protect delicate seedlings from rot. Unlike garden soil or heavy potting compost, it lets tiny roots push through without a struggle. Get the mix right and far more of your seeds sprout into strong, healthy plants.
This guide explains what a seed starting mix is, how to make seed starting mix at home with five simple recipes, and the small mistakes that cause weak seedlings and damping off.
Why use a seed starting mix?
Seeds are fussy at the start. They need constant moisture, plenty of air, and a clean medium free of the fungi that kill seedlings overnight. Garden soil fails on all three counts — it packs down, drains poorly, and carries pests and weed seeds.
A dedicated seedling soil mix fixes every one of those problems. It stays evenly damp without going soggy, keeps enough air around the roots, and is clean enough to give young plants a safe start. That is why almost every experienced grower keeps it separate from ordinary potting soil.
What goes into a seed starting mix
Most mixes are built from just three types of ingredient, each doing one job:
- A moisture holder. Coco coir or peat moss forms the bulk and keeps the mix evenly damp.
- An aerator. Perlite or vermiculite opens up the mix so roots get air and water drains through.
- A gentle feeder (optional). A little screened compost or worm castings adds mild nutrition for slower crops.
Notice what is missing: garden soil and strong fertiliser. Both do more harm than good at this stage. The seed itself carries enough food to sprout and grow its first leaves.
How to make seed starting mix at home (5 recipes)
Making your own is cheap and quick. Measure by volume — a “part” can be a scoop, mug or bucket. Here are five reliable blends:
| Recipe | Blend (by volume) | Best for |
|---|---|---|
| Classic soilless | 2 parts coco coir, 1 part perlite, 1 part vermiculite | Most seeds, all-round |
| Simple two-part | 3 parts coco coir, 1 part perlite | Quick, cheap, fast crops |
| With gentle feed | 2 parts coir, 1 part perlite, 1 part fine compost | Slow crops (peppers, tomatoes) |
| India terrace | 2 parts coco peat, 1 part vermicompost, 1 part perlite | Warm-climate balcony sowing |
| Fine and moist | 2 parts coir, 2 parts vermiculite | Tiny seeds (lettuce, herbs) |
To mix, moisten the coir first, add the other parts, and stir until even. It should feel like a wrung-out sponge — damp, not dripping. See our full guide to making potting soil at home for the heavier mixes you will pot seedlings on into.
How to sow seeds in seed starting mix
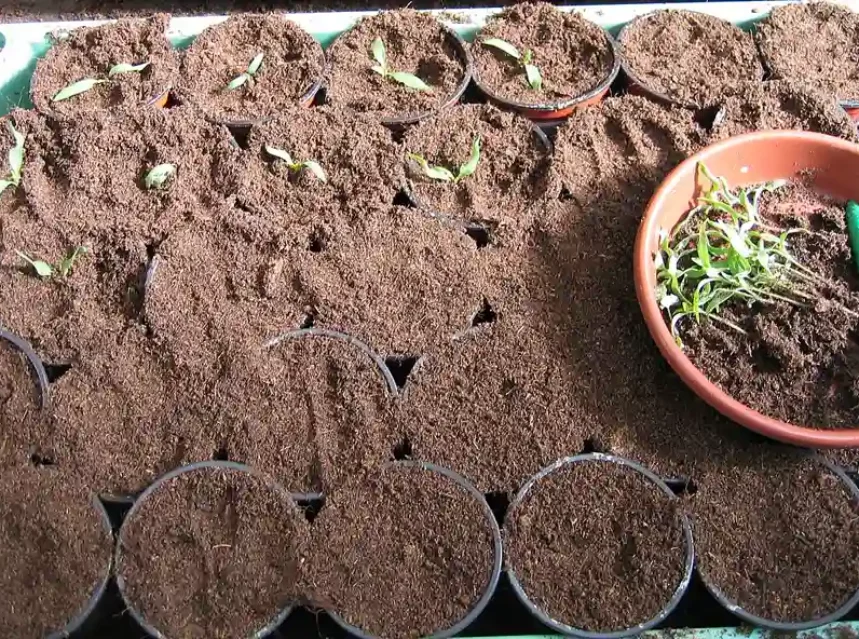
Once your mix is ready, sowing is simple:
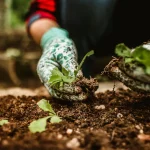
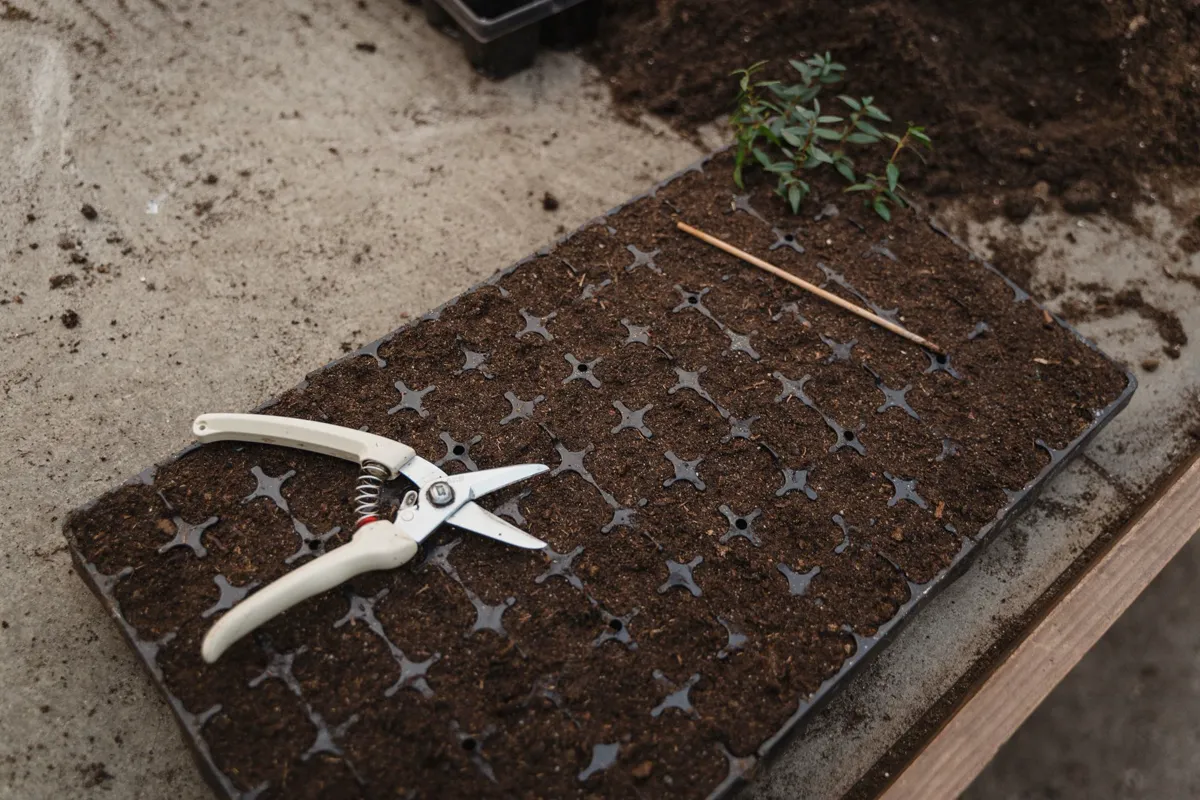
- Fill and firm. Fill trays or cells, then tap them down and level off — no big air gaps.
- Pre-moisten. Water lightly before sowing so seeds are not washed about.
- Sow at the right depth. A rule of thumb is to bury a seed twice its own width; surface-sow tiny seeds.
- Cover and label. Sprinkle a little mix over, mist, and label each tray.
- Keep warm and damp. Cover with a lid or bag until sprouts appear, then give them bright light.
The University of Maryland Extension notes that consistent warmth and moisture are the two biggest factors in good germination.
The best seed starting mix vs homemade
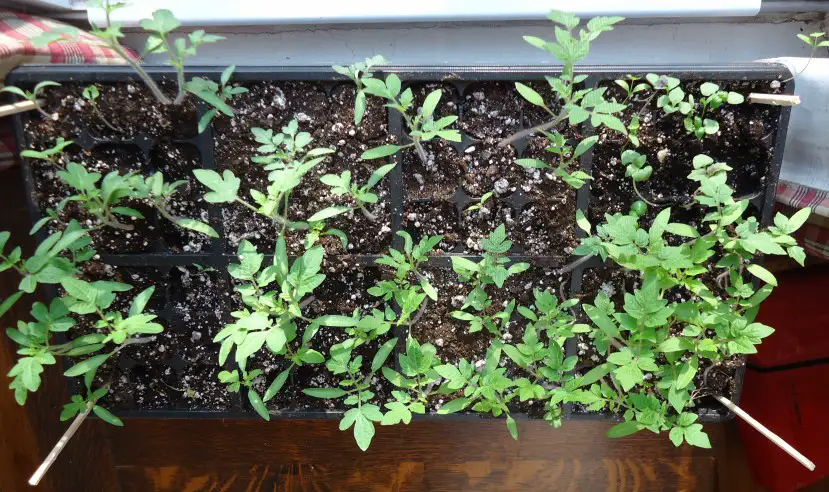
You can buy a ready-made bag or mix your own — both work. The best seed starting mix for you depends on how much you sow. Bagged mixes are convenient, consistent and reliably sterile, which suits beginners and small batches. A good DIY seed starting mix costs far less per litre and lets you tune the blend, which pays off once you sow trays every spring.
For most home gardeners, buying one bag to learn the feel, then switching to homemade, is the smart path. Commercial seed suppliers stress the same point: a light, sterile medium beats a rich one for germination. Whichever you choose, keep it fine, moist and separate from your general potting soil, and never reuse a mix that grew diseased plants. If your homemade blend still has lumps, twigs or half-rotted bits in it, passing it through a garden sieve is what turns a rough mix into a fine one seeds can actually push through.
When to use seed starting mix (by season)
Seed starting mix earns its keep in the sowing season. In cool climates that means late winter to spring, when you start warm-season crops like tomatoes and chillies indoors. Mix a fresh batch each year so it is clean and springy.
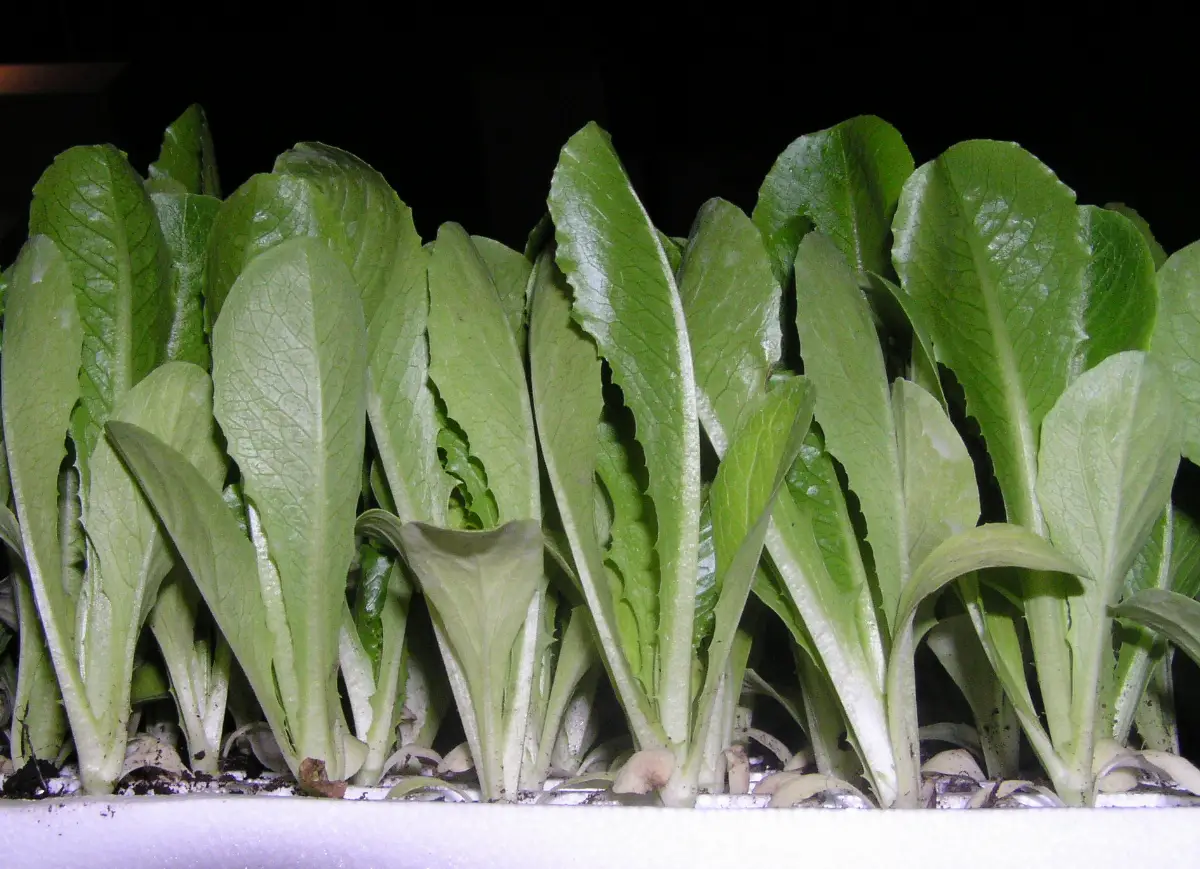
In India, the busiest sowing window is before the cool October-to-February season, plus a second round for summer crops. Warm weather speeds germination, so keep trays out of harsh afternoon sun and check moisture twice a day.
Watering and feeding seedlings
Watering is where most seedlings are won or lost. Keep the mix evenly moist but never waterlogged, and water from below where you can — stand trays in a shallow tray of water and let them soak up what they need. This keeps the surface drier and cuts the risk of rot.
Feeding comes later. A seed starting mix has little food on purpose, so once seedlings show their first true leaves, begin a weak liquid feed at half strength every week or two. Pot them on into a richer potting mix once roots fill the cell. In short, the mix handles moisture and air, and you supply gentle food only after the true leaves appear.
Seedling pests and diseases (damping off)
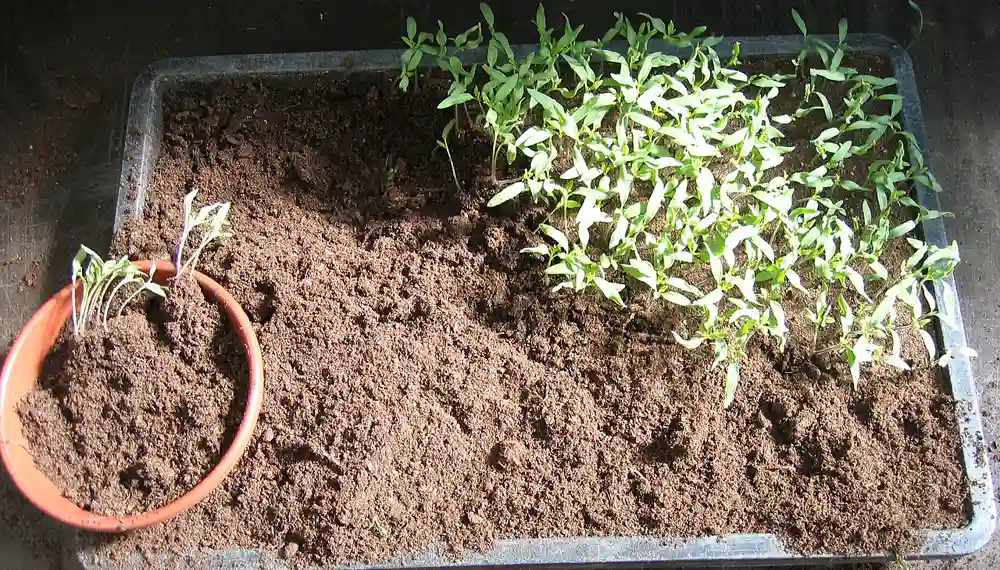
The biggest threat to seedlings is damping off — a fungal disease that makes stems collapse at soil level overnight. It thrives in cold, wet, airless conditions, which is exactly why a sterile, free-draining mix matters so much. The RHS links most cases to overwatering and poor hygiene rather than the seeds themselves.
To avoid it, use clean trays, a fresh sterile mix, and good airflow, and never let trays sit in cold standing water. A light dusting of cinnamon or a small fan can help too. The main pests to watch are fungus gnats, whose larvae breed in constantly wet mix; green algae or moss on the surface is another sign the mix is simply too wet. Let the top dry slightly between waterings and both problems fade fast.
Common seed starting mix problems and mistakes
- Using garden soil or old potting mix. Too heavy and not sterile — seedlings damp off. Always use a fresh, fine mix.
- Letting it dry out. One dry spell can kill sprouting seeds. Keep it evenly damp.
- Overwatering. A soggy mix rots roots and breeds fungus. Water from below and let the surface dry slightly.
- Adding strong fertiliser. It burns tender roots. Feed only after true leaves, at half strength.
- Sowing too deep. Small seeds need light and shallow cover, or they never make it up.
Frequently asked questions
Can I use potting soil instead of seed starting mix?
You can, but germination is usually poorer. Potting soil is heavier and less sterile, so tiny roots struggle and damping off is more likely. A fine seed starting mix gives far better results.
How do I make a simple seed starting mix?
Mix 3 parts coco coir with 1 part perlite, moisten it well, and use it straight away. It is cheap, light and sterile enough for most seeds.
Does seed starting mix need fertiliser?
No, not at first. Seeds carry their own food to sprout. Start a weak, half-strength liquid feed only once the first true leaves appear.
Can I reuse seed starting mix?
It is best not to for seeds, as old mix can harbour disease. Reuse spent mix in containers or garden beds instead, and start seeds in a fresh, sterile batch.
What is the difference between seed starting mix and potting mix?
Seed starting mix is finer, lighter, and usually sterile, with little or no added fertiliser — exactly what tiny roots and disease-prone seedlings need. Potting mix is coarser, holds more nutrients, and often contains compost or bark chunks that small seeds struggle to push through. Use the fine mix for germination, then move seedlings into richer potting mix once they have true leaves. The two are designed for different jobs, not interchangeable products.
Do I need to sterilize homemade seed starting mix?
It is a smart step if your ingredients include garden compost or anything that has been stored open. Spread the moist mix on a tray and bake at about 90-100°C for 30 minutes, or steam it, to kill damping-off fungi, weed seeds, and insect eggs. Pure fresh coco coir, perlite, and vermiculite straight from sealed bags are already clean enough to skip this. Always use washed trays and pots too — hygiene matters as much as the mix.
When should I transplant seedlings out of seed starting mix?
Move seedlings on once they have one or two sets of true leaves — the leaves that appear after the first rounded seed leaves. At that point the sterile mix has done its job and the plant needs nutrients that the mix cannot supply. Prick seedlings out gently by their leaves, never the stem, and pot them into a nutrient-rich potting mix. Waiting too long leaves seedlings pale, hungry, and leggy, so act within a week or two of true leaves showing.
Is coco coir better than peat moss for starting seeds?
Both hold moisture well and give similar germination results, so either works. Coco coir has a near-neutral pH, so it needs no lime, and it is a renewable by-product of the coconut industry — one reason it is cheap and easy to find in India and increasingly the default in Europe as peat is phased out. Rinse low-grade coir before use to remove salts. Peat is more acidic and its harvesting raises environmental concerns, which is pushing many gardeners toward coir.
Do I really need vermiculite in seed starting mix?
No, it is helpful rather than essential. Vermiculite holds water and a small reserve of nutrients, then releases them slowly, which smooths out moisture swings between waterings. A simple coir-and-perlite mix germinates seeds perfectly well if you water attentively. Where vermiculite really shines is as a thin covering over surface-sown seeds — it keeps them moist while still letting light through. If it is hard to find locally, extra perlite plus careful watering does the job.
Can I start seeds in ordinary garden soil?
It is risky. Garden soil compacts into a dense, airless block in trays, drains poorly, and carries fungi, weed seeds, and insect eggs that kill seedlings before they establish. Germination rates are almost always worse than in a light, sterile mix. If garden soil is your only option, sterilise it by baking, then blend it with sand and compost to lighten the texture. For valuable or slow seeds, a proper mix is worth the small cost.
Why do my seedlings keep falling over and dying?
That collapse — a pinched, dark stem at soil level — is damping off, a fungal disease that thrives in wet, stagnant, dirty conditions. Prevent it by using sterile mix and clean trays, watering from below, allowing the surface to dry slightly between waterings, spacing seeds so air moves between seedlings, and running a small fan nearby. There is no cure once a seedling flops, so remove victims fast and improve airflow to protect the rest of the tray.
How long does seed starting mix keep once opened?
Dry, unopened bags keep for years, but an opened bag stored damp loses its sterile advantage within months as fungi and gnats move in. Store leftover mix bone dry in a sealed container away from rain and soil splash, and it will stay usable into next season. If old mix smells musty or shows mould, refresh it by baking before use or relegate it to general container filling and buy or blend a fresh batch for seeds.
Still stuck? Ask the Plant Doctor
Describe the problem — yellow leaves, holes, no flowers — and get a clear answer in seconds. FreeAI can make mistakes. Answers are guidance, not a guarantee — check anything important against the guide it links to, and always read the label on any product before you use it.